Temporary warning: For now, do not use or render this product using the Daz Studio public build (4.9.3.71). It would result in a crash.
The product works as usually on the current release version of Daz Studio (the "normal" Daz Studio version).
The reasons for the crashes on the public build are being studied in order to solve the issue as fast as possible.
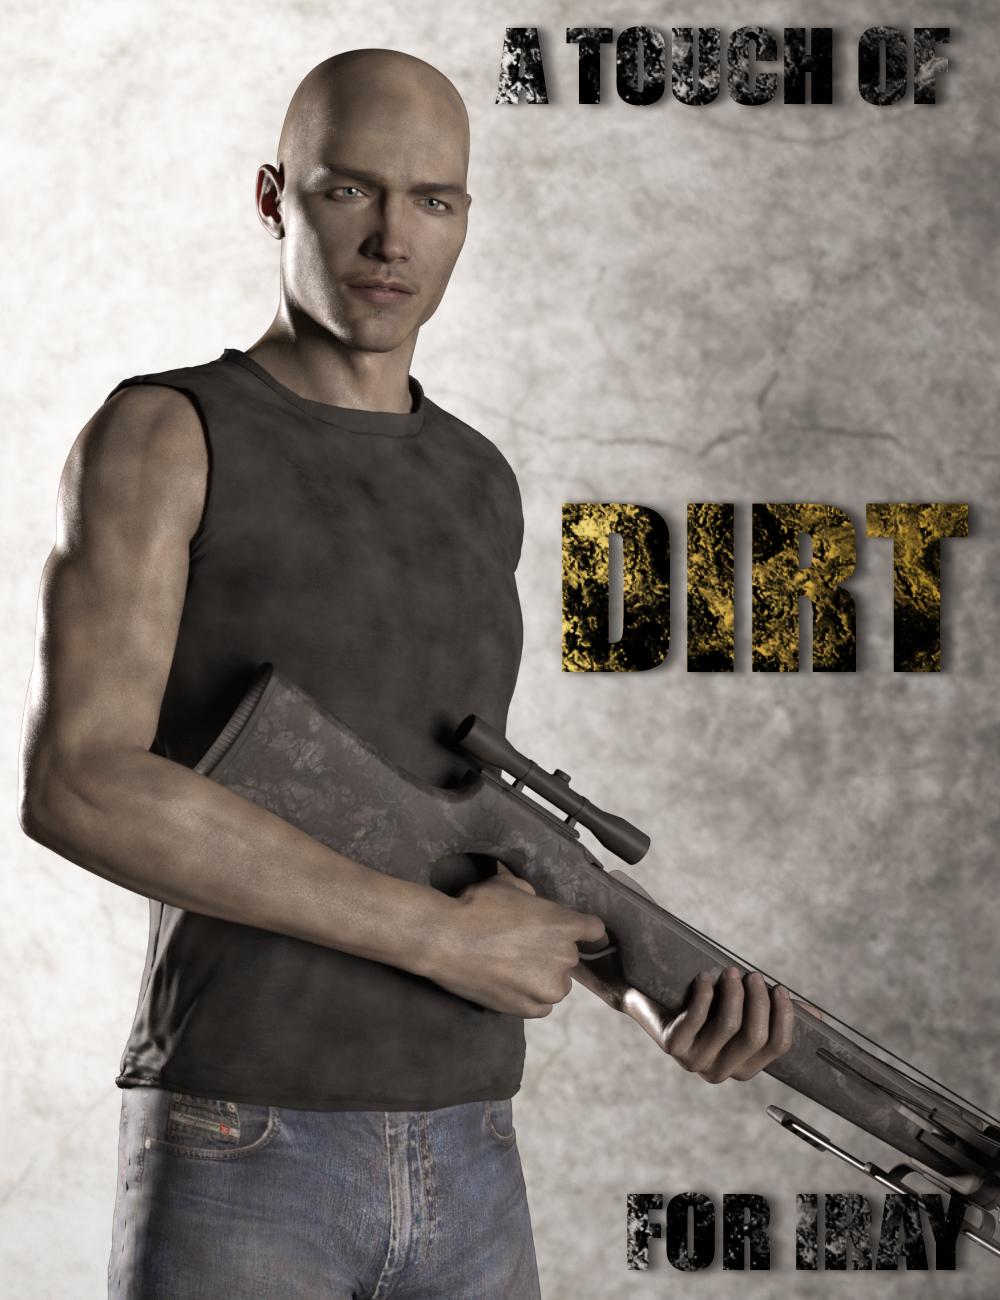
A Touch of Dirt For Iray is out : http://www.daz3d.com/a-touch-of-dirt-for-iray
You have a ReadMe file detailing all this, but.. Who read the ReadMe's? This is why I make the small briefing on how to use :
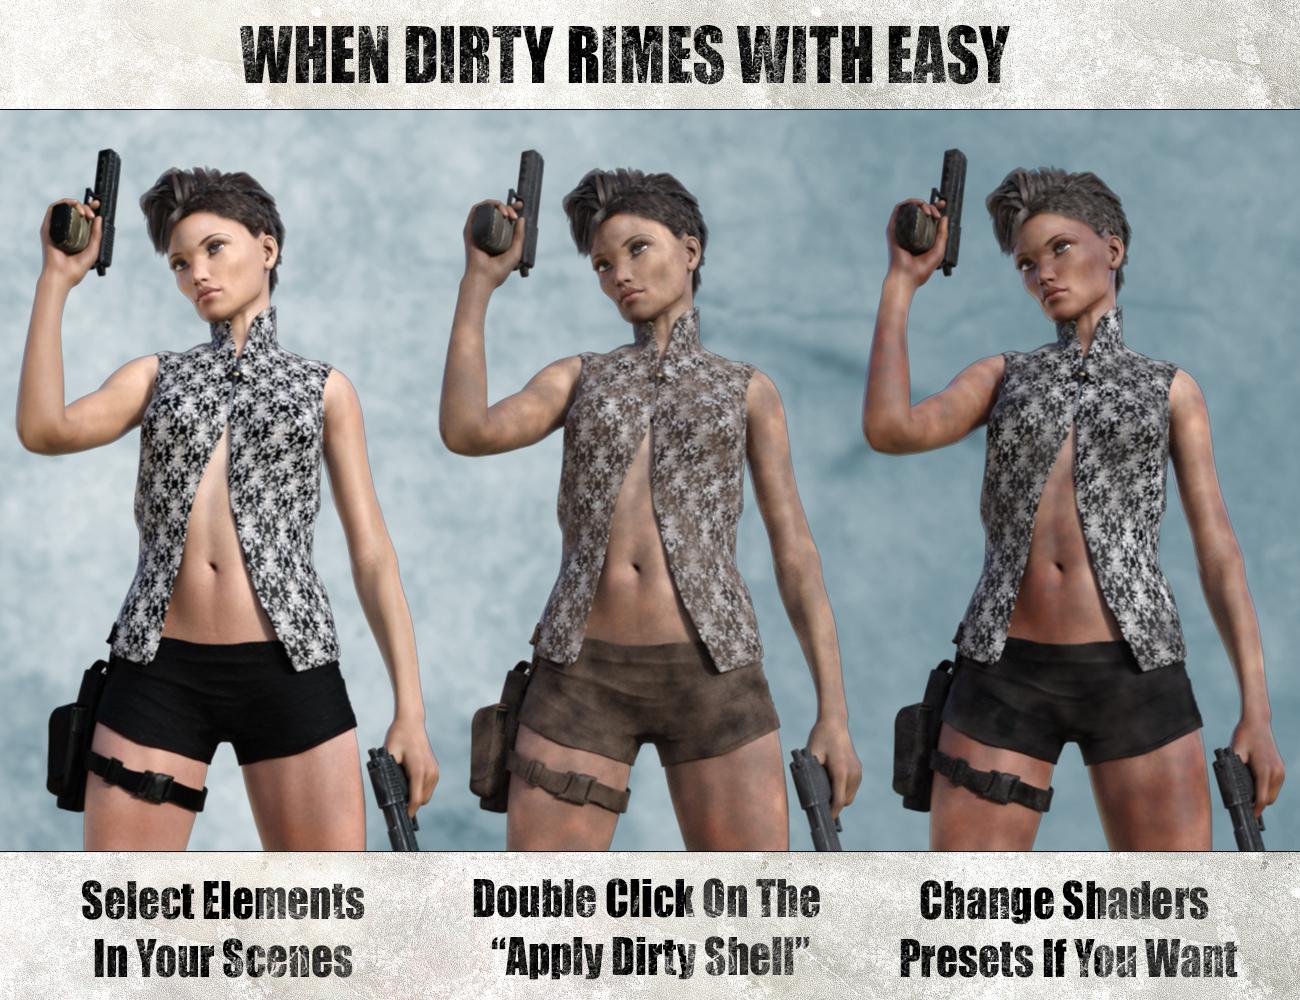
1. select all the figures and objects you want to add dirt on.
2.a. Users of Content Library : in the main folder of the product (shader presets/ V3D/ A Touch Of Dirt For Iray) double click on the script named V3DPD apply Dirty Shell. For figures, the parts of the shells corresponding to eyes and inner mouth are already created "off" (for figures from generation 4 up to Genesis 3). You can also add an overlay on a human figure (with human proportions) using the dirty decal node of folder 04.
2.b. Users of Smart Content : in the product, double click in "utilities" and double click on the script named V3DPD apply Dirty Shell. You will also find a decal node in the "props" subcategory.
3. Once done, when you want to modify the shaders of the dirty shell, you can load presets (full or partial - color - opacity -) organised by folders for "Content library" users, and set "all together" in the shaders cateory of this product (I think I'll update the metadata), for "Smart Content Users". See remarks at the bottom to understand better the clues in the names of the shaders.
4. You can also use the script V3DPD manage dirt base to modify the shaders, this will give you a more synthetic overview of the colors, colors mixings, and noises parameters.
5. If you want, you can transfer Opacity, Displacement, normal and bump maps from the parent of the shell to the shell. The shell itself must be selected. The only "mandatory" transfer is the one of the displacement if the underlying object has displacement on it. (You'll the only have to set up the min, max and SubD). The procedure is shown in video help files (links at the end of the pdf ReadMe file).
For everybody :
- Take care : the "colors only" preset will change only the colors of the dirt. You have to use them on an "already dirty" element (shader V3D Procedural Dirt 01 or V3D Procedural Dirt 02) otherwise nothing will happen. The shaders files named with "Color" will change only the color, the shaders files named with "Opacity" will change only the repartition of the dirt, the shaders named with "full" will change everything (color, repartition, opacity, tiling). Opacity and Full Shaders can be applied without applying any other dirt shaders before. All of the shaders will preserve the additional maps you might have transfered from the parent to the shell. In the shader presets names : PD1 means that the shader 01 will be used, PD2 the shader 02 PD will be used, PD means the existins shader you have will be maintained.
- Do not Apply the shaders directly on the figures or objects to have a dirt effect. You have to apply them on shells or overlays : select in the scene the Shell or Overlay "wearing the dirt", then the surfaces of it, then apply the shader. Yet you can apply them directly on figures if you decide to used them with a constant "1" opacity, for instant to generate surfaces covered with procedural patterns.
- If you work on dirt, you can set the shells and overlays "selectable" in order to be able to select the surfaces directly using the surface selection tool. This allows to go faster in the selection.
- The links to the video documentation can be found at the last page of the readMe.
***************************************************************************************************************************************************************************************************************************
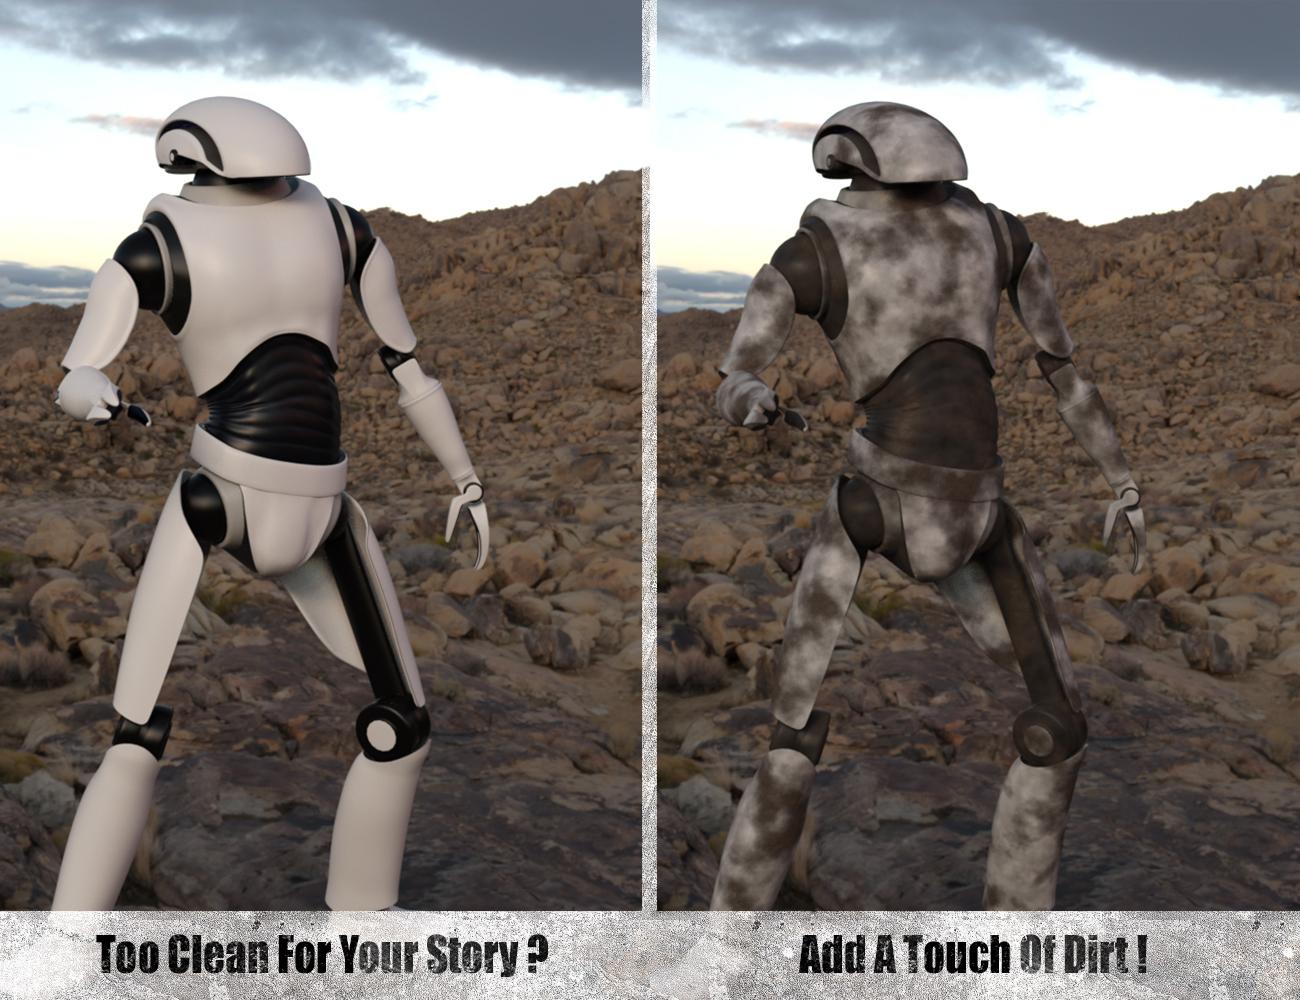
A touch of dirt for Iray will add dirt to any figure or object in your scene. I had this idea because I saw so many clean figures, in their clean outfits, holding and surrounded by clean props, but rendered in dirty environments, or rendered in circumstances they should not be "that clean".
It is based on the geometry shell technology, and the dirt relies on two specially hand made procedural Iray shaders providing a completely seamless dirt pattern on the elements of the scene you have selected, meaning that the result is completely independent of the UV set - and of course seamless!
All the tools are provided to make the process easier :
- A first script will apply the dirty geometry shells to all the elements you have selected in the scene.
- A second script provides an interface helping you to manage the dirt properties easier than it is in the surfaces tab.
- A third script can copy the essential maps and maps strengths of the current parent figure of a dirty Geometry shell to the mapped properties of the shell.
Indeed the shaders allow the possibility to include some maps too, working together with the unmapped procedural properties. The properties which can be mapped are normal, displacement, bump and opacity.
- The product also includes full dirt shaders presets, partial dirt colors only shaders presets, and partial dirt opacity repartition only shaders presets so that you can mix easily dirt repartition and dirt colors.
Using dirt can completely change the story you tell in your scenes.. So... Add a touch of dirt!
![]()
![]()
![]()
![]()


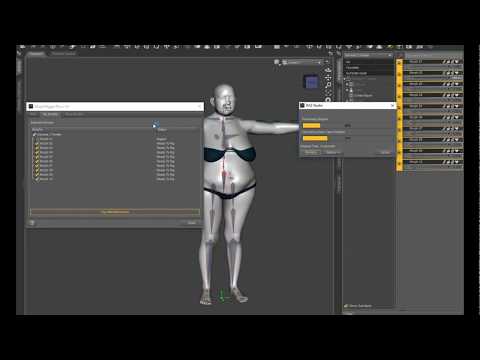

 RiverSoft Art and Sickleyield are proud to present the RSSY Clothing Converter from Michael 4 (M4) to Genesis 8 Male! Finally, use your Michael 4 clothing with your Genesis 8 Male characters! Convert almost your entire wardrobe of clothes and many accessories using the new Clothing Converter from M4 to Genesis 8 Male! The Clothing Converter scripts provide batch execution for converting your Michael 4 clothing to Genesis 8 Male clothing in your library! The RSSY Clothing Converter from Michael 4 to Genesis 8 Male has been carefully crafted to handle the different rigging and shapes between Michael 4 and Genesis 8 Male, even adding special rigs for loincloths, capes and a special dress/tunic rig that adds pose bones to avoid that "sticking to the legs" effect.
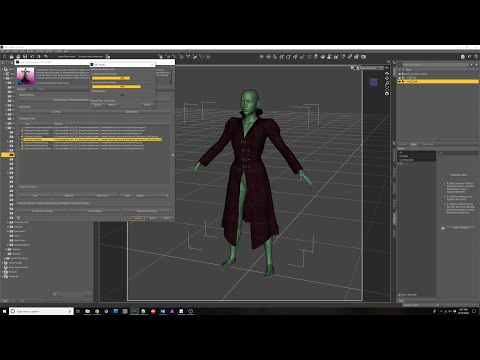
 RiverSoft Art and Sickleyield are proud to present the RSSY Clothing Converter from Victoria 4 (V4) to Genesis 8 Female! Finally, use your Victoria 4 clothing with your Genesis 8 Female characters! Convert almost your entire wardrobe of clothes and many accessories using the new Clothing Converter from V4 to Genesis 8 Female! The Clothing Converter scripts provide batch execution for converting your Victoria 4 clothing to Genesis 8 Female clothing in your library! The RSSY Clothing Converter from Victoria 4 to Genesis 8 Female has been carefully crafted to handle the different rigging and shapes between Victoria 4 and Genesis 8 Female, even adding special rigs for loincloths, capes and a special dress/tunic rig that adds pose bones to avoid that "sticking to the legs" effect.


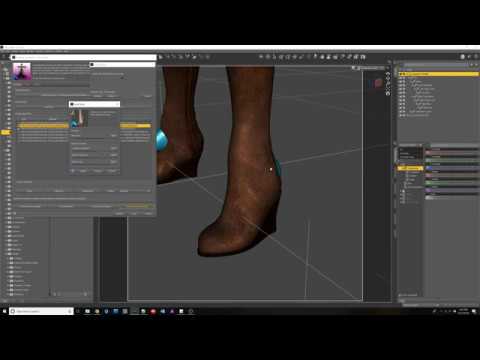
 Use your favorite Victoria 4 hair on your Genesis 8 Females! Automatically convert almost your entire library of Hair items using the new RSSY Hair Converter from Victoria 4 to Genesis 8 Female! The Hair Converter scripts provide batch execution for automatically converting your Victoria 4 Hair to Genesis 8 Female. Easily select the hair items in your library, select an output directory, and execute the script. Even better, icons and categories (where present) are copied from your original Victoria 4 hair to the new Genesis 8 Female hair items.


